Thursday 29 December 2011


Sales Invoice
Click on the “task menu” and then select sales/invoicing as shown below in window.
The window will be appearing on the screen.

After selecting ‘’Sales/invoicing’’, new window will be appearing on the screen


First we click on the search button for write a customer ‘’ID’’ the window is appear like this


Now we select the customer ID. After selecting ID the window will appear on the screen as

  
  Now we select the sales order number


And then again we write the quantity, description, and unit price. After write these information, Price will automatically calculated and enter the date on which you are making the invoice also give the invoice number and click on save.

Friday 23 December 2011


                          Sale Order/Quote
There are two options for making sales order for customer.
·         Sale Quote.
·         Sale order.
Click on the “task menu” and then select “Sales quotes”.

Click on quotes the following window will appear on your screen.

 Enter the customer ‘’I.D’’ and enter the quote No. After this enter the Quantity in the column of “Quantity” and then enter “Item” and then unit price. The total amount will be calculated automatically.


Press “save” button at the top of your screen.
                      Convert Sale Order:
To convert the sale order, the window for convert sale will be appear on the screen.

Now select the sales order and then click ‘’OK’’
                             Sale order:
Click on the “task menu” and then select the sale order.


After select the sale order option, the window will appear on the screen 
 Now we write the Quantity, items, unit price and the total amount will be automatically calculated.
        and then press save button.

Friday 16 December 2011


Maintain Inventory Item

To make an maintain inventory item, First we go to the maintain menu option and then we select the inventory item option.
This window will be appear on the screen


After click this option, the new window will be appear as on the screen


Enter the item id and the description and then we select the item class. For items of inventory to be resold you should select 'Stock item.

General Option:

There are three general ledger account fields on the MAINTAIN INVENTORY ITEMS window: GL SALES ACCT, GL INVENTORY ACCT, and GL COST OF SALES ACCT. For a STOCK ITEM, none of these fields can be left blank.

If we select the Assembly as item class, then we can move easily to the Bill of materials option.


Bill of Materials tab is used only if the Item Class selected is Assembly, while the Item Attributes tab is only used if the Item Class selected is Master Stock item.

Now we enter the beginning balances

The window appear on the screen as


Enter the item id, Description, Quantity, Unit Cost and total cost.

And if we select the Assembly as Item class
.
We enter the beginning balances as


Wednesday 7 December 2011

                         Setup a New Company:
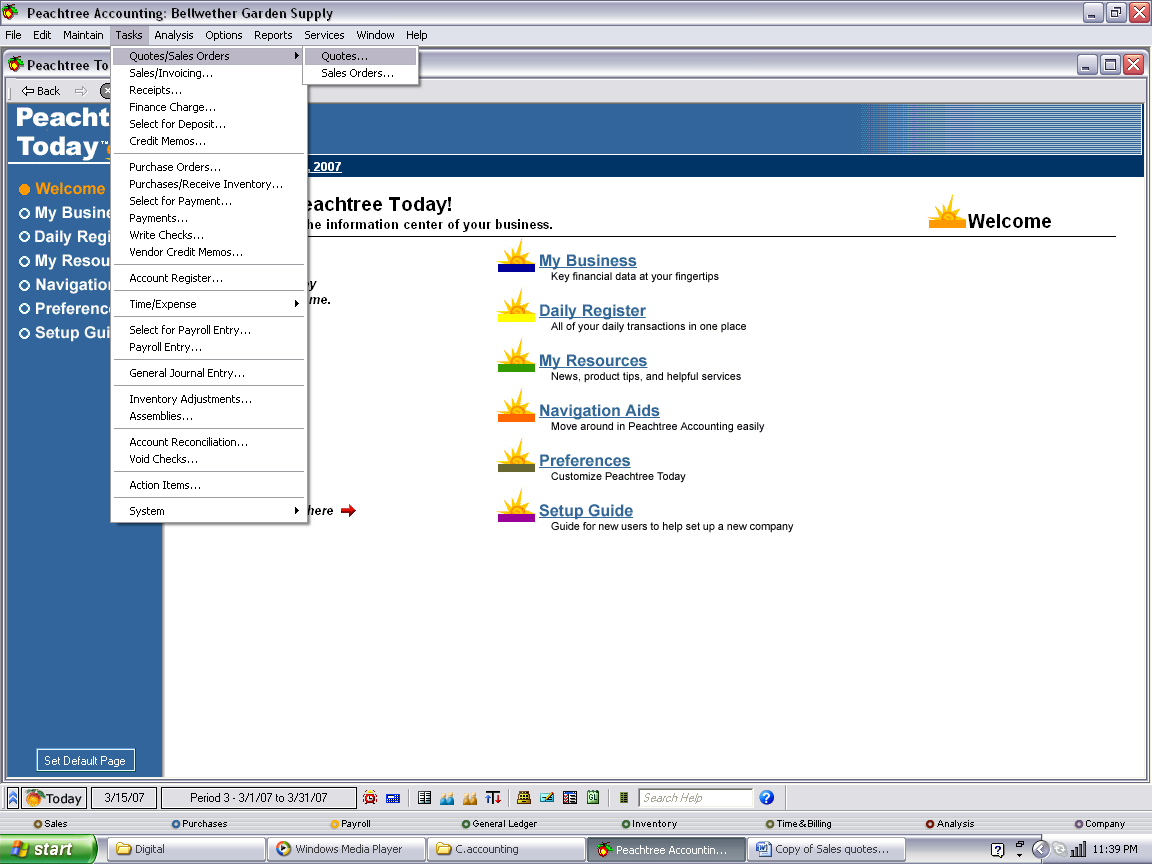
After we open Peachtree software, following window are appear on the screen.
As we want to setup a new company we will click on the option of “Setup a new Company”.                                                                                                                                      The following screen will appear
       In this screen following are the options about company is given:·         


 Company name                                                                                                                                                                                  Company address etc
Then we click “Next” to continue                                                                       Company Information:
This screen provides the basic information about company. Like
1.  Name of the company.
2. Address of the company.
3.  Phone number of the company.
4.  Email etc
      Chart of accounts:
After fill this information we click “Next” to continue                                                  
      In this screen following options are given.
 1. Build your own company.
 2.  Convert a company to another accounting program. Etc
We select build your own company and then click “Next”
             Accounting Methods:
In this screen again we have some options about accounting methods.
Ø  Accrual.
Ø  Cash.

Cash accounting method:
An accounting method where receipts are recorded during the period they are received, and the expenses in the period in which they are actually paid.
Accrual Accounting method:
Accrual accounting method mean transaction are made on credit basis or cash basis.
                                    Then click “Next” to continue this setup
      Posting Method:
In this screen following methods are given
·        Real.
·        Batch.


Real: Real time means transactions are posted to general ledger as they are entered and saved. Most companies use this method.                                            Batch: Transactions are saved by the program and then posted in a group. This method allows you to registers and analyze the group of transaction before posting in journal.
We select real time and then click “Next”
     Accounting Period:
We select 12 months accounting period and then click “Next”.
 Accounting periods are units of time that divide your fiscal year for reporting purpose                          
        Monthly Accounting Periods:
In this screen we have choose monthly accounting period. We select January as a start of our fiscal year.
Then click on “Next” to continue
   Congratulations:
The procedure of a setup a new company has to be end
So we click on “Finish”.
                                    

                                  Chart of Accounts:
For preparing a chart of accounts, first we click to setup a new company then new company setup introduction window will be open
Then we click “next”. This will be the next window on your screen that includes some company But we write only company name then we click “next”
After click “next” button, chart of account window will be open
In which we select “Build your own company” then click “next”                                          window will appear on your screen
In which we select accrual option then we click “next”.Now next window appear on your screen will be
Now we select the real time option and then click “Next”                                                  Then next window will be appear.
Then we click “next” button after selecting the accounting period.
This window will appear on your screen
In this window we write monthly accounting period information.
Ø  First fiscal year to start.                                                                                                               
Ø  First month you will be entering data.                                                                                  
Ø  First year you will be entering payroll.Then we click “next”
Now we click the “finished” button
Now the home page of your company will appear as shown below.
For make a company owns chart of accounts, following options are given on the top bar.
Ø File.                                                                                                                                                    
Ø  Edit.                                                                                                                                           
Ø Maintain.                                                                                                                                   
Ø  Task.                                                                                                                                                                
Ø  Analysis.                                                                                                                        
Ø  Options.                                                                                                                                       
Ø Reports.                                                                                                                                         
Ø Windows.                                                                                                                                                          
Ø  Help.
We select maintain option and then click on chart of accounts then this window will be appear on screen.
Suppose we make a machinery account, we write account ID suppose 101                      and then write description as machinery and account type as fixed Assets.
After write all accounts ID, description or account type
We select the beginning balances button.
Select the period of time which we are entering data , after that we click ok button. Now we have to enter the beginning balances in chart of accounts.


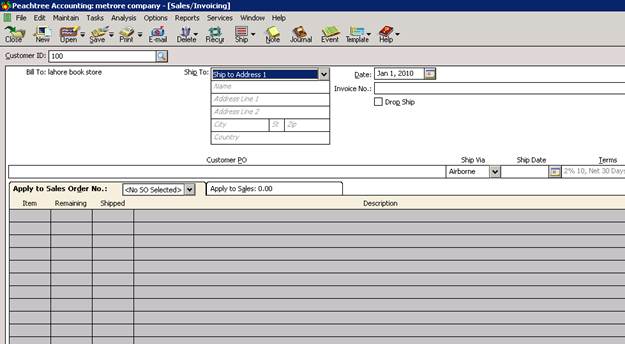
Customer Prospectus:
First we click the maintain at menu bar and then select the customer prospectus, this window will be appear on the screen
Now we write the customer ID or Name.
Then click the” General” option. Here the basic information about customer is given .For example

Ø Contact.                                                                                                                                                       
Ø  Address.                                                                                                                                                                
Ø Email.                                                                                                                                                                   
Ø  Country etc.                                                                                                                    Now move to the next “Sales Default” option.


Here the Sales information is given
For example
Ø  Sales Rep.
Ø  GL Sales Acct.
Ø  Resale no Etc.
 
  
Maintaining Customer Defaults Info.
 We have to follow the following steps to maintain the customer default info
Go to the maintain menu and select the default info and click on customers, you will get a new window.
Following 5 options are given
1)    Payment terms.
2)    Account aging.
3)    Custom fields.
4)    Finance charges.
5)    Pay methods.
Payment Terms:
There are five options which include C.O.D, Prepaid, and Due in number of days, due on day of month, due at end of month: Select one of these And then go to the next option.
Account Aging:                                                                                                                       
 To set up how sales invoices are aged and select the Account Aging tab in the Customer window.
Custom Fields: Custom field is used to enter the information which is not available.
Finance Charges: In order to apply the finance charges, you have to check the box or you can set according to your own choice by applying it on the invoice according to your defined criteria.
Pay Methods: This method is used to set up payment methods for the customers.
Following payment methods are given
1.    Cash.
2.    Check.
3.    Visa.
4.    Master Card etc.


Maintain Inventory Item:
First we go to the maintain menu after that we click the inventory item.
     
To maintain the inventory items following steps are given.
Step 1   Select the inventory item from the maintain option.

Step2:                                                                                                                                                                                          In general options first we write the item id, description.Following information’s are given in this window
·         GL Sales account.
·         GL inventory account.
·         GL Cost of sales of account.
Step 3:                                                                                                                                                      After write this information, we click the beginning balances option
 
Step 4:
In this window we write the item id, unit cost, total cost and quantity. And then we click “ok”.

            Maintain Vendor
We go to maintain menu and select the vendor option.
The following window will be appeared on the screen.
First we type the vendor ID and then we write the Name.
After that we go to purchase defaults option.     
           
Now we click the beginning balances button, you will get the following window appear on your screen.
Now we enter the following information
·         Invoice number.                                                                                                                                          
·         Date.                                                                                                                                                  
·         Amount.                                                                                                                                             
·         Purchase Account.
In this option we select the purchase account option and then we go to the     previous General Option.